How to change Display Language in Windows 10
Windows 10 supports changing the default language. You no longer need to be concerned about the default language when you buy a computer, if you prefer to use a different language, you can change it at any time. So this tutorial will show you how to change display language in Windows 10.
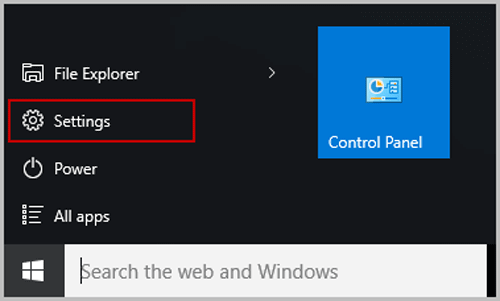
Step 1: Sign in to Windows 10 using an administrative account. Go to Start Menu and click Settings.
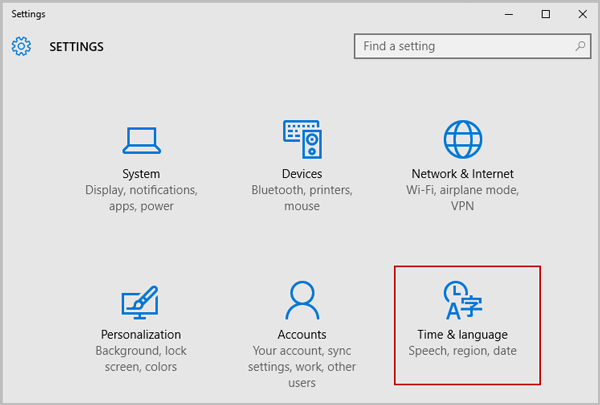
Step 2: In Settings, select Time & Language.
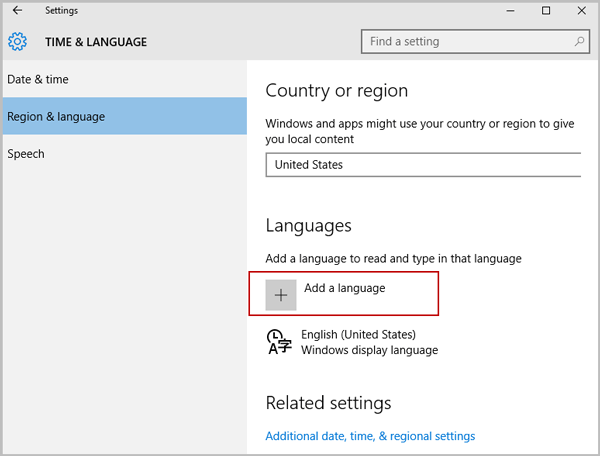
Step 3: In Time & Language, Click Region & Language on the left pane and than click Add a language.
Step 4: Browse to language you want to add.
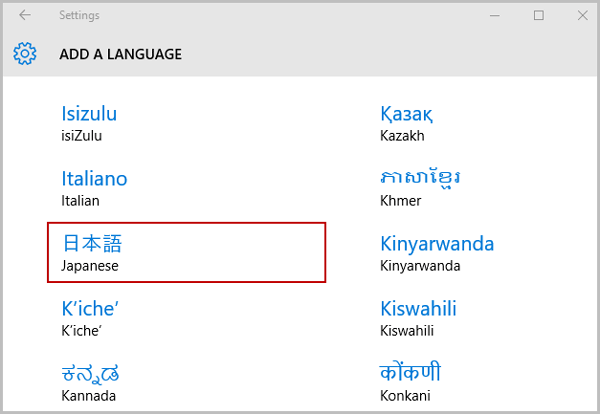
Step 5: When you have added the languages you need it's time to install the Language Packs. Select a language, click Options.
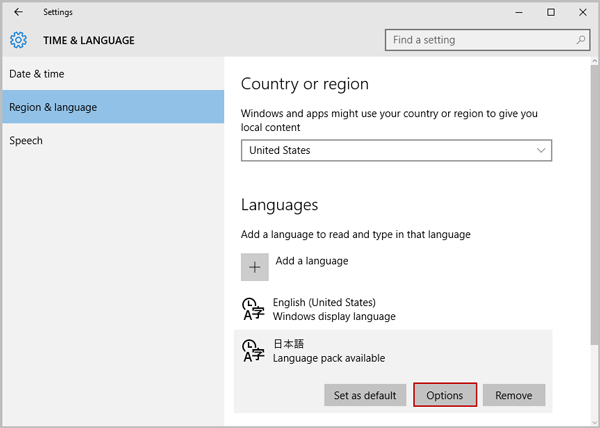
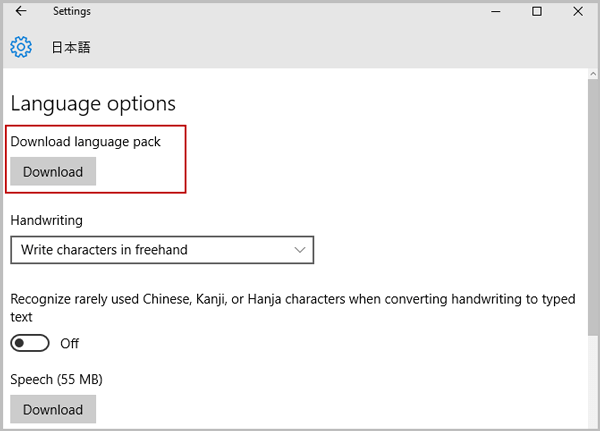
Step 6: Click Download. Notice that downloading and installing a Language Pack can be quite slow and take up to 10 minutes even on a fast PC.
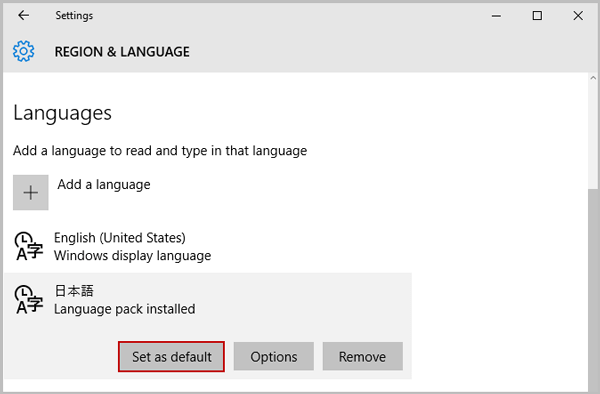
Step 7: Go to back to Language Selection, select a language and click Set as default. Sign out from the account, sign back in to apply display language change.
Related Articles
- Change the Date and Time Displayed on Windows 10 Device
- 9 Ways to Open Control Panel in Windows 10
- How to Change Windows Primary Language on Surface Tablet
- How to Stop Windows 10 Download and Install Updates Automatically
- How to Set/Change/Remove User Account Picture on Windows 10
- Fixed: Display Adapter Driver Can't be Installed Normally in Windows 7/10

