How to convert Excel to Word - For Office 2013/2016

Are you wanting to import an Excel spreadsheet into a Word document? Here this document will show you the ways to convert Excel to Word document or table.
Applies to Office 2013, 2016.
- Import Excel spreadsheet into Word:
- Copy from Excel and paste on Word
- Drag from Excel and drop on Word
- Save as Word document
Copy from Excel and paste on Word
Copy and then paste is the most command way to convert the Excel data to Word.
1. Open the Excel file which you need to convert to Word.
2. Select the part of the sheet that you want to copy, press "Ctrl + C" (or right-click, and select Copy).
If want to select this all spreadsheet, press "Ctrl + A".
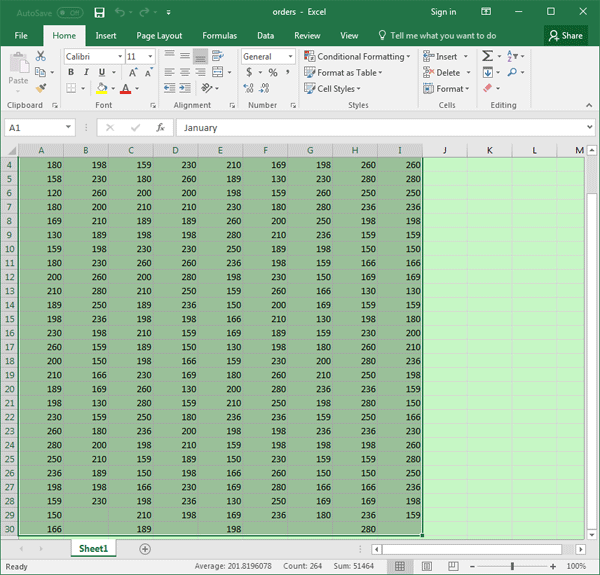
3. Open the Word document which you want to import Excel data into, place the cursor on the place where you want to import data from Excel sheet.
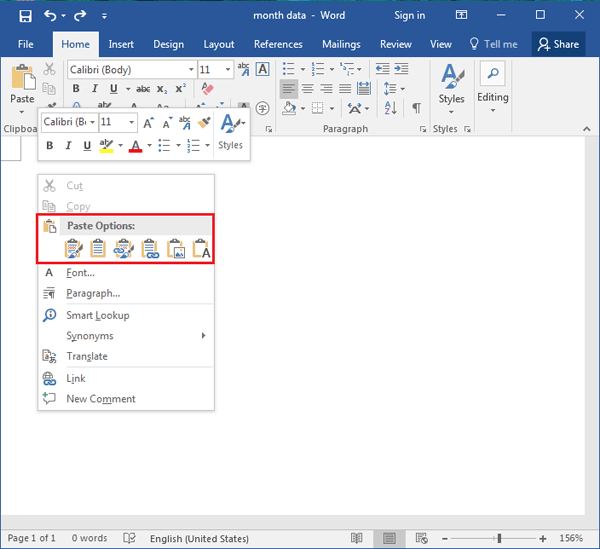
4. Press "Ctrl + V", on the end of paste content, click on the Paste Options icon.
Or right-click, you will see the Paste Options. Place the cursor on each option, you will get the message explaining the paste formatting.
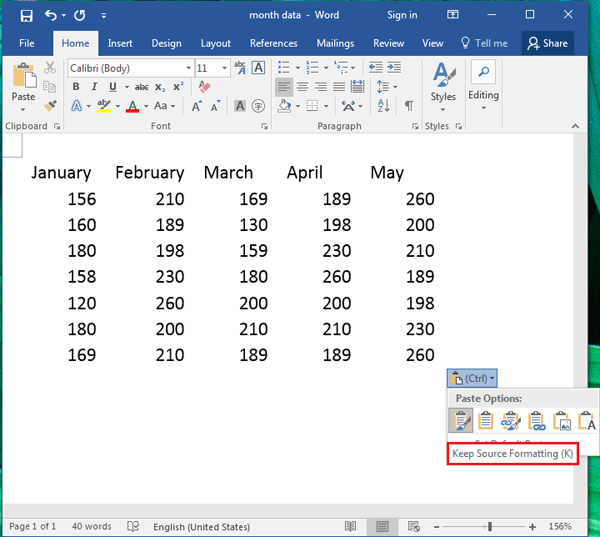
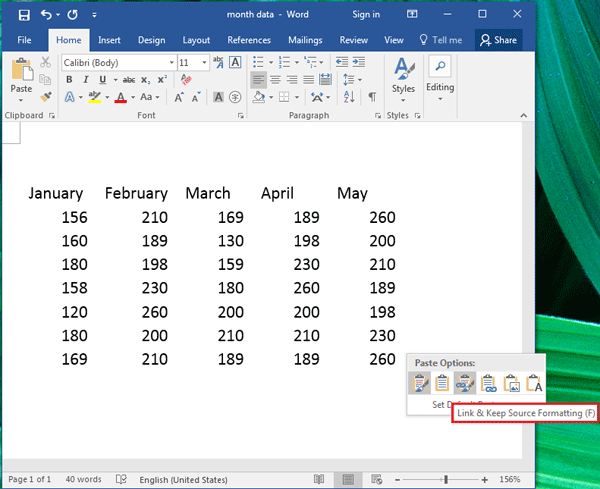
Keep Source Formatting: Using the original formatting from Excel, so the data is not placed inside a table, and you won't see the table border.
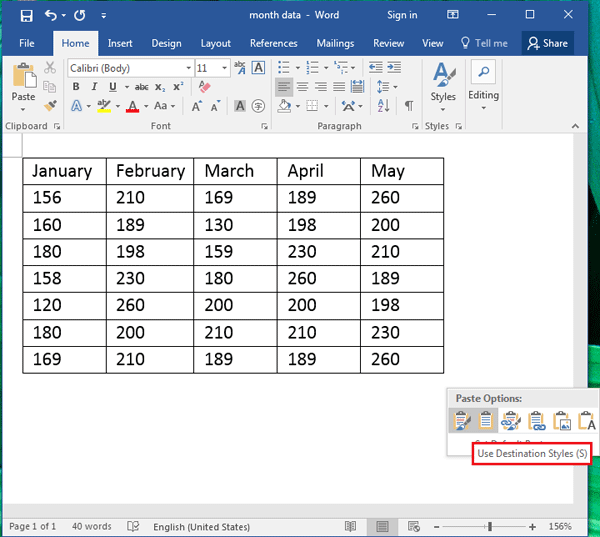
Use Destination Style: Using the formatting from Word document, so the data is placed inside a table, and you will see the table border.
Link & Keep Source Formatting: Keep the formatting from Excel, and will create a link connected to the original Excel spreadsheet, so when the data in the linked Excel spreadsheet are changed, the data on Word document can be automatically updated too.
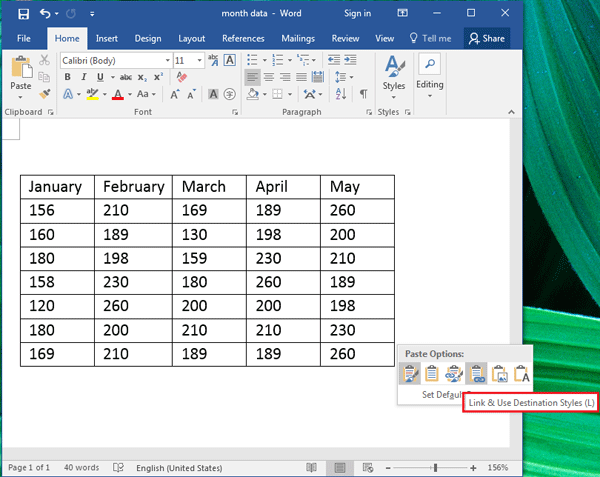
Link & Use Destination Style: Use the formatting on Word document, and create a link to the Excel spreadsheet. When edit the data in the linked spreadsheet, the change reflected on the Word document too.
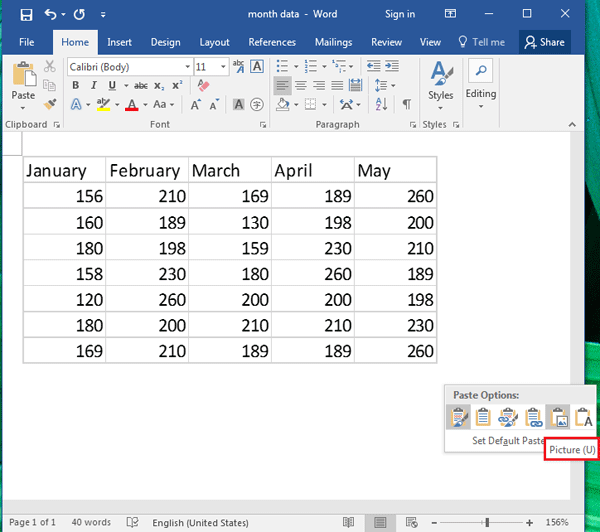
Picture: Copy the data from Excel as a picture, so the data in the Word document can't be edited.
Keep Text Only: The data from Excel sheet will be formatted in text, with each row in a separate paragraph, and cell values are separated with tab spaces.
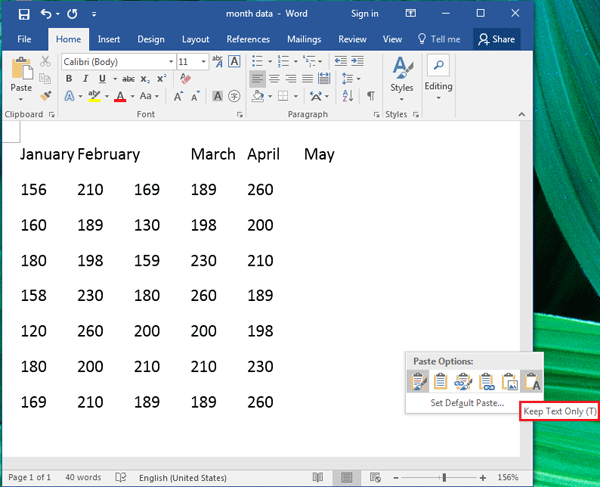
So, if you want the data copy from Excel showed as table on the Word document, use Destination Style or select Picture option.
Drag from Excel and drop on Word
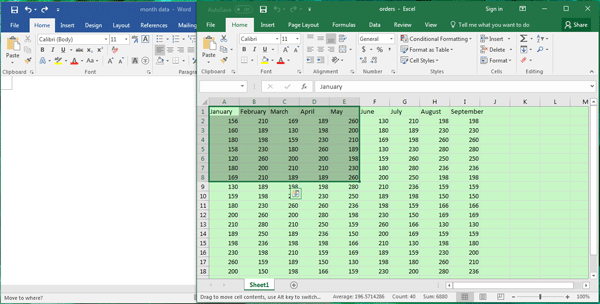
There is another easy way to import a table from Excel spreadsheet into Word document – drag and drop.
1. Open the Excel spreadsheet, select the part of data that you want to import into Word document.
2. Drag the table from the Excel sheet, and drop in on the location of your Word document where you want to import the table.
Save as Word document
The Excel document can't be saved as Word document directly, if you want to convert the all the Excel document to Word document, you can save it as PDF file, and then save the PDF file as Word document.
1. Open the Excel file, click on File → Save As → Browse, on the Save as type option, select PDF, and click on Save.

2. Right-click on the PDF document generated from the Excel file, select Open with, and then select the Word application.

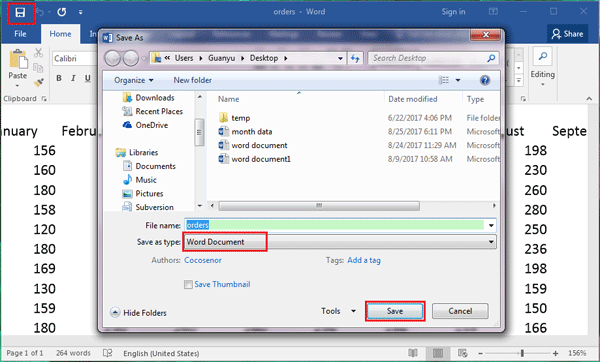
3. After the PDF document is opened by the Word program, click on Save button, select Word Document on the Save as type option, and then click on Save.
