[Fixed] PowerPoint cannot be opened .PPTX file Error in MS PowerPoint 2010/2013/2016
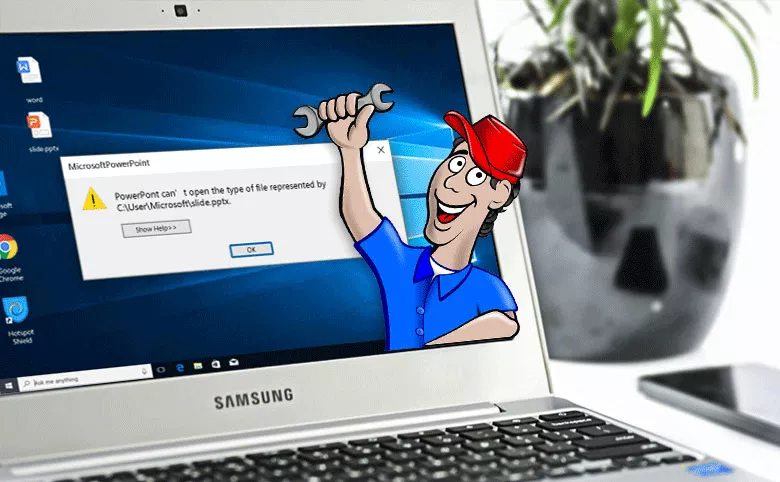
When opening a PPTX presentation that has just been completed, you encounter the error "PowerPoint cannot open the .PPTX file". Are you confused and don't know what to do? In such situation, you can try the methods in this article to solve your troubles. There is always one that can solve your problem.
- Five ways to solve the problem of not opening .PPTX presentation:
- Way 1: Unblock security in the properties of the PPTX file
- Way 2: Open the presentation document by dragging it to the PowerPoint program icon
- Way 3: Attempt to open a temporary file version of a presentation that cannot be opened
- Way 4: Check the drive for system error
- Way 5: Repair and Open PowerPoint file by repair software
Way 1: Unblock security in the properties of the PPTX file
When you open a PowerPoint file and receive an error message that the file cannot be opened, it may be that the Office has locked the file for some security reasons. You can manually unlock the file to open it.
Step 1: Find the PowerPoint file that cannot be opened on your computer.
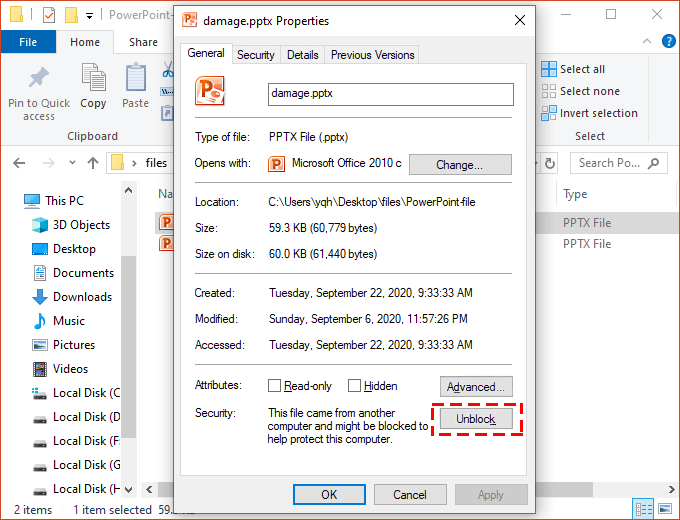
Step 2: Select and right-click this file, then select Properties.
Step 3: In the Properties dialog window, find the Security in the General tab, click Unblock, then click Apply and finally click OK to save and exit.
Way 2: Open the presentation document by dragging it to the PowerPoint program icon
Step 1: Open Run by shortcut key Win + R, enter the following command according to your PowerPoint version and run.
① "%ProgramFiles%\Microsoft Office"
② "%ProgramFiles(x86)%\Microsoft Office"
Step 3: Find the icon of Powernt.exe in Windows Explorer.
Step 4: Drag the presentation that cannot be opened to the icon of Powerpnt.exe from one window to another.
Step 5: After dragging is completed, PowerPoint will try to automatically open the presentation.
Way 3: Attempt to open a temporary file version of a presentation that cannot be opened
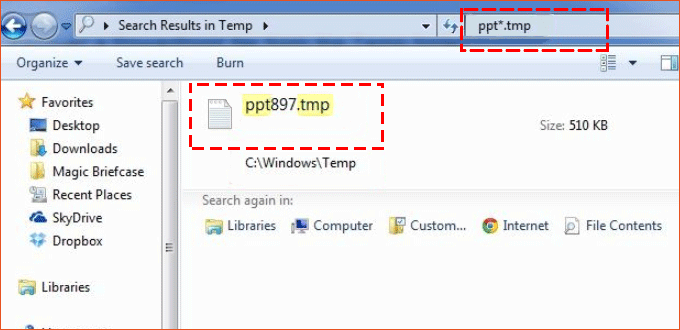
When you edit a PPTX file, the PowerPoint program will automatically create a copy of the file for you. The name of the copy is usually PPT ####.tmp and the placeholder #### represents four random numbers.
Step 1: Find the temporary file in your computer and rename it to PPT ####.pptx. (The location of the temporary file may be the same as the location where your PPTX file is saved. Otherwise it may be in your temporary file folder)
Step 2: Start PowerPoint, click File > Open.
Step 3: Find the renamed copy temporary file in the folder and try to open it in PowerPoint.
Way 4: Check the drive for system error
Error checking can check the errors of the presentation and try to repair it, but the system check does not guarantee that the presentation can be repaired to normal reading.
Step 1: Exit all of the programs.
Step 2: Go to your computer, find the disk containing the damaged presentation, right-click and click Properties.
Step 3: In the properties dialog box, click the tool tab and then click Check.
Step 4: Check the box of "Automatically repair file system errors" and "Scan for and attempt recovery of bad sectors", then click Start.
Way 5: Repair and Open PowerPoint file by repair software
Cocosenor PowerPoint Repair Tuner is a powerful PPTX file repairing software that can repair pptx corrupt problems and other unknown errors in a few simple steps, and then make the file available for normal use. Follow the step below:
Step 1: Download and install Cocosenor PowerPoint Repair Tuner in your computer.
Notice:
Please close your PowerPoint program before repairing damaged PPTX files.
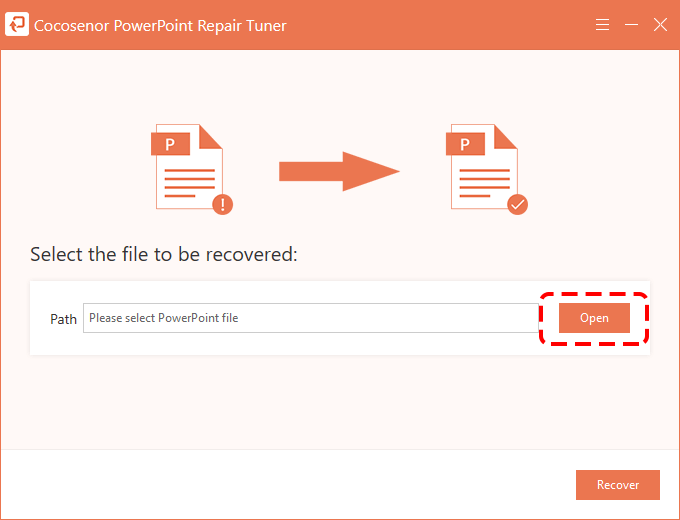
Step 2: Launch the software and enter the main interface, click Open button to select damaged PPTX file.
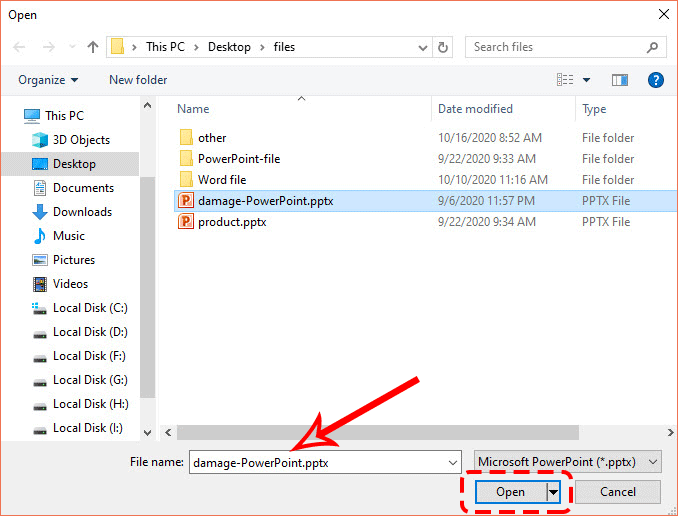
Step 3: Find and select the file to be repaired in the Open dialog box and Open it into the software.
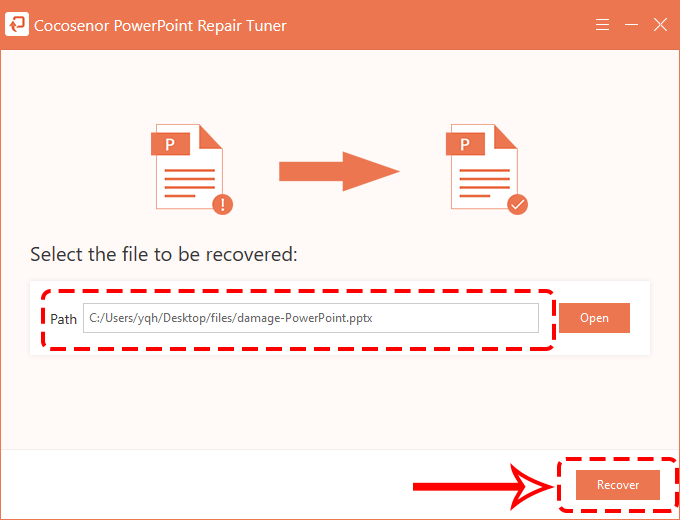
Step 4: Now you can see the damaged file in the path box, click Recover to start repairing.
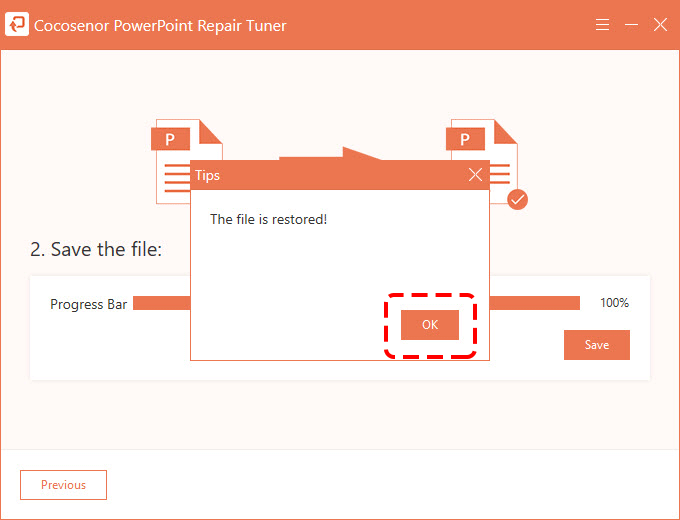
Step 5: The repair process will be carried out here, and a prompt box will pop up after the completion of the restoration, click OK to close.
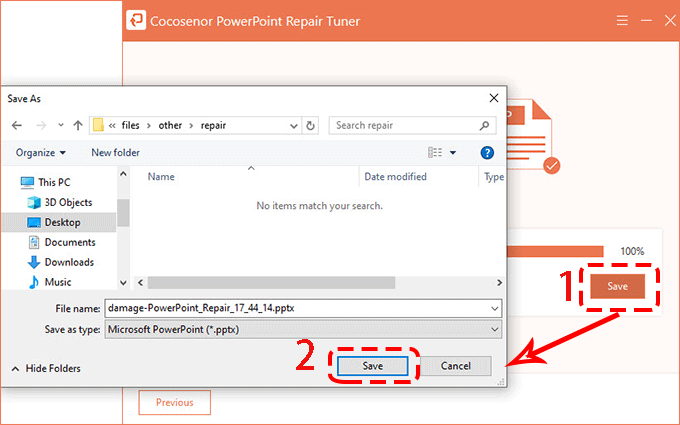
Step 6: Save the recovered PPTX document in your computer for normal use, click Save and select a save path in the dialog box, then Save it.
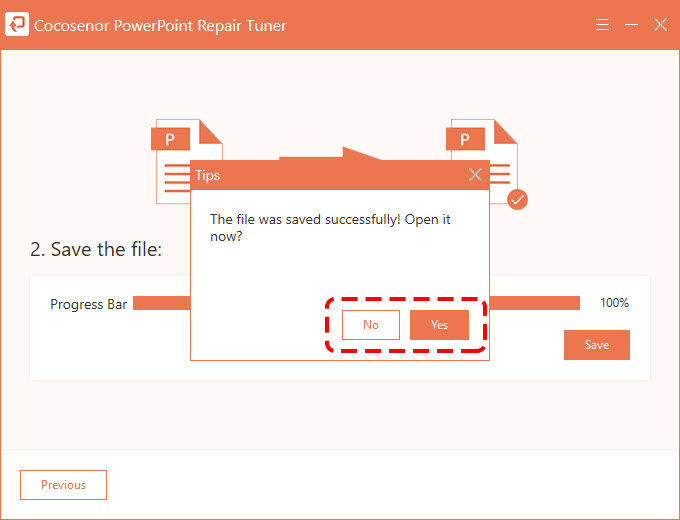
Step 7: After saving, you can directly open the file by clicking Yes in the prompt box or clicking No to end the dialog.
