How to Change Another User’s Password on Windows 10
Some users have created several local or Microsoft accounts on their PC. To access the device, just sign in with one. If you want to change another account’s password on Windows 10, it’s also as easy as creating an account. But before that, you should ensure your current local account is configured as an administrator.
- How to Change Another User’s Password on Windows 10
- Part 1: Open Control Panel to Change the Password for Another User
- Part 2: Create a Password Reset Disk to Reset Other User’s Password
Part 1: Open Control Panel to Change the Password for Another User
With administrative privileges on your Windows OS, you can directly launch Control Panel to change the password for another user easily, which is a traditional tool that offers a powerful and user-friendly interface for managing user accounts.
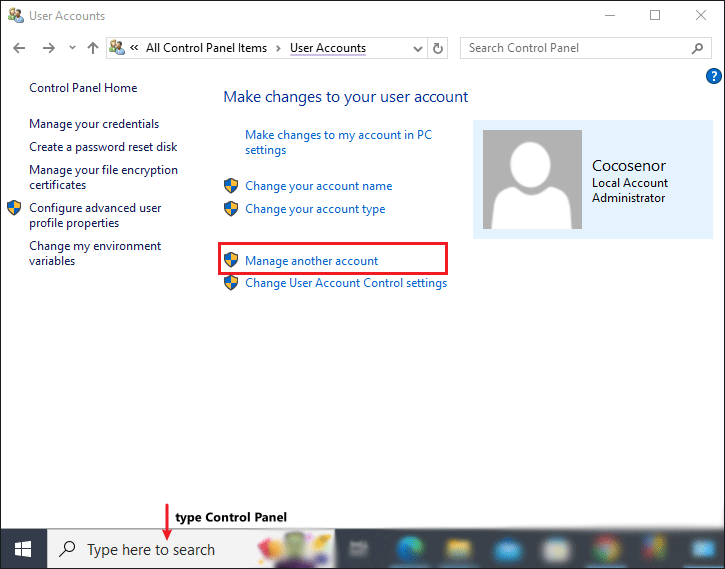
Step 1: Type Control Panel in the Search bar and open it.
Step 2: Click User Accounts from the items. And then choose Manage another account.
Step 3: Select a user account. Next, click Change the password (if there is no Change the password link, maybe this is a Microsoft account).
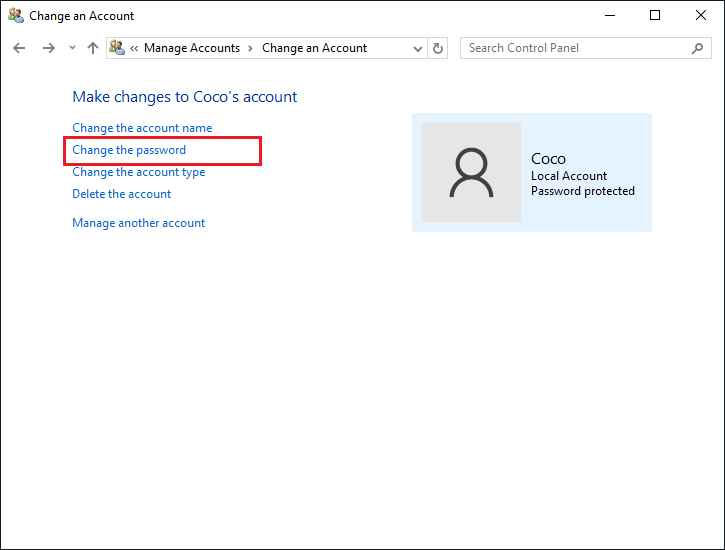
Note: When popping up that you should enter the password for another user, just enter it because it means the current user logging into the computer is not an administrator. If you don’t know the password, use the following method to change it.
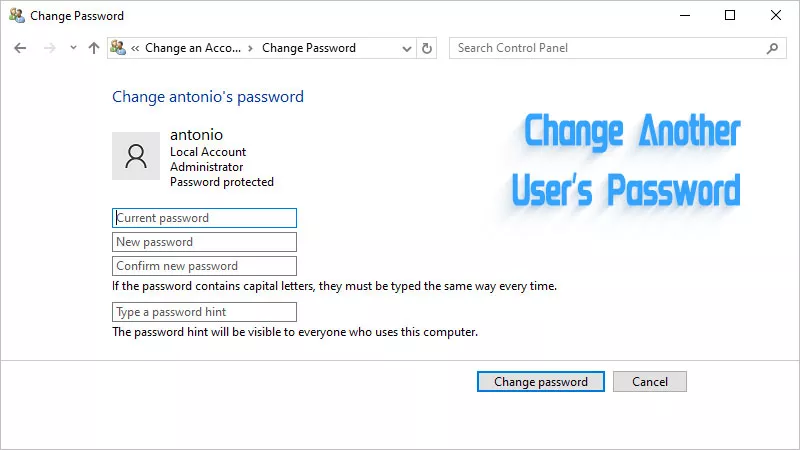
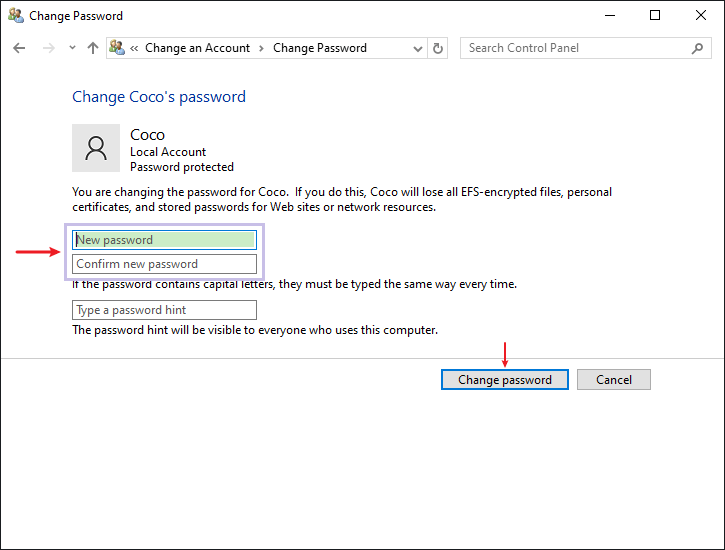
Step 4: Enter a new password and confirm it. After that, click the Change password button.
Part 2: Create a Password Reset Disk to Reset Other User’s Password
Cocosenor Windows Password Tuner is designed to recover or remove forgotten passwords for Windows accounts with a password reset disk. You can also use it to reset another user’s password or add a new local user.
Step 1: Download and install the software on your desktop.
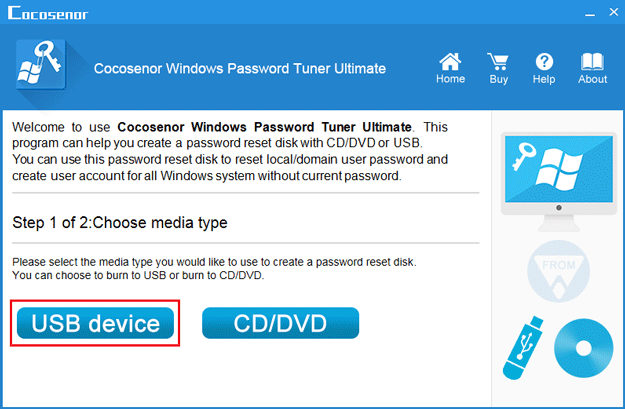
Step 2: After launching it, select the media type USB device. Alternatively, choose CD/DVD if you have one.
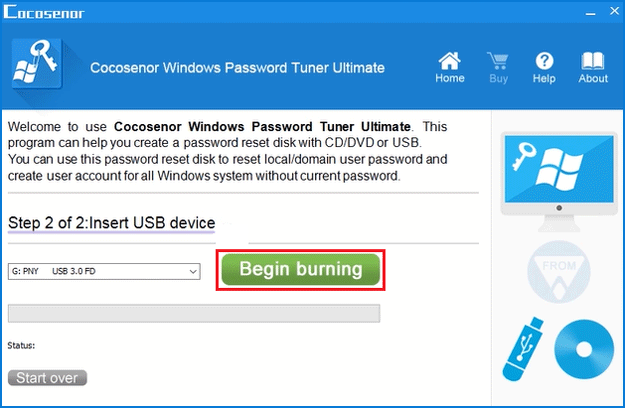
Step 3: Insert your USB device into the computer and click Begin burning. When asked to format the USB drive, tap on Yes.
Step 4: After creating a password reset disk successfully, set computer to boot from USB drive. First, you should restart the computer. And once power on, immediately press F12 (Esc or F8) repeatedly until it gets into Boot menu.
Step 5: Press Up or Down to select the USB drive and then press the Enter key.
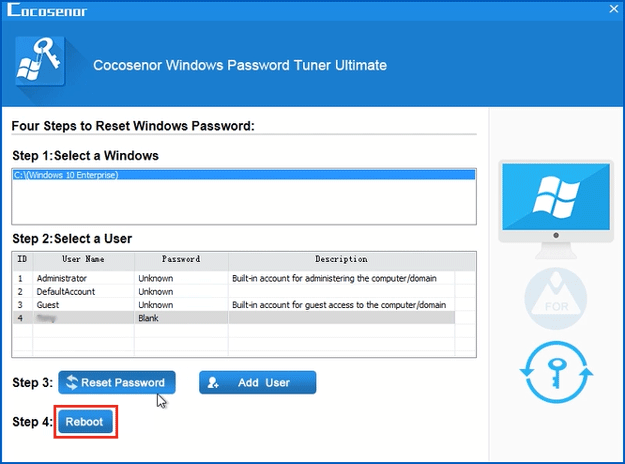
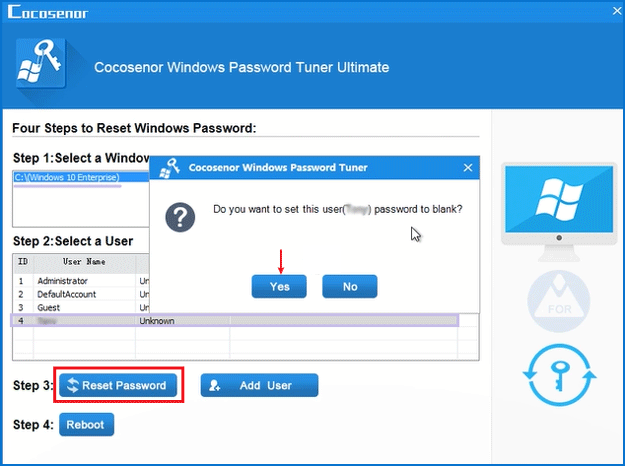
Step 6: After Windows Password Tuner Standard program is opened, choose a Windows system and a user.
Step 7: Click Reset Password and then choose Yes to set this user password to blank (the Add User option can help you create a new account).
Step 8: Eject the disk and then tap on Reboot. If you ensure the disk is removed from your PC, click Yes.