
Create HomeGroup on Your Surface to Share Files with Other Devices
How to share your Surface files with other computer devices? You can create a homegroup on your Surface and invite the other PC devices to join the homegroup if they are on one home network.
Tips: Here will take Surface Pro 3 for example to show you the detail steps. On different Surfaces that has various version of system, so the steps may be a little different for your devices. If on your surface is Windows 10 system, follow the article: How to create a homegroup on Windows 10 devices. If installed on your Surface is Windows 8.1, go on with the steps below, don't leave away.
- Guide Steps
- Part 1: How to create a homegroup on your Surface?
- Part 2: How to invite other PC devices to join the homegroup and share files?
Part 1: How to create a homegroup on your Surface?
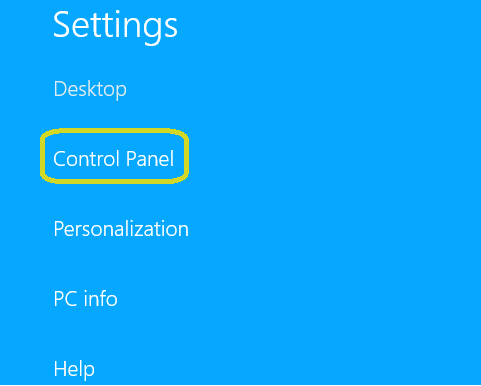
Step 1: Swipe in from the right side of your Surface screen, tap on "Settings", and then select "Control Panel" on the Settings.
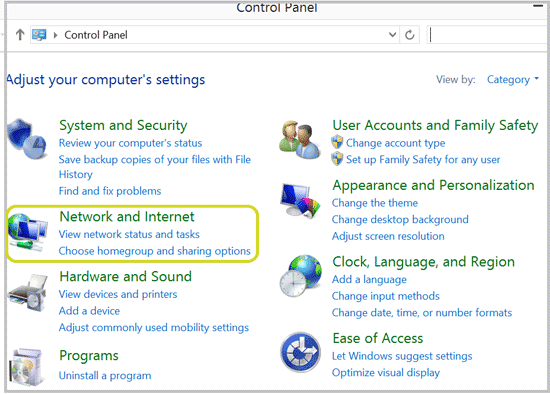
Step 2: Tap on "Network and Internet" on the Control Panel.
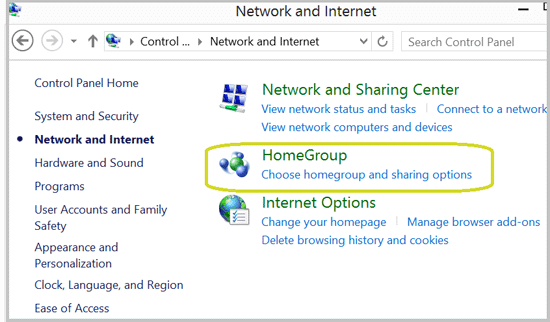
Step 3: Select "HomeGroup" on the following screen..
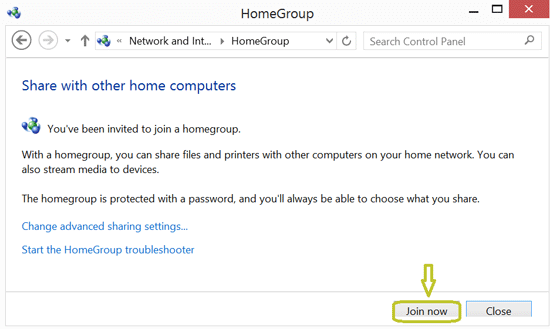
Step 4: If someone else on the home network has created a homegroup, you won't see the "Create a homegroup" button, but you will be invited to join the homegroup. Just tap on the "Join now" button to share files with the homegroup.
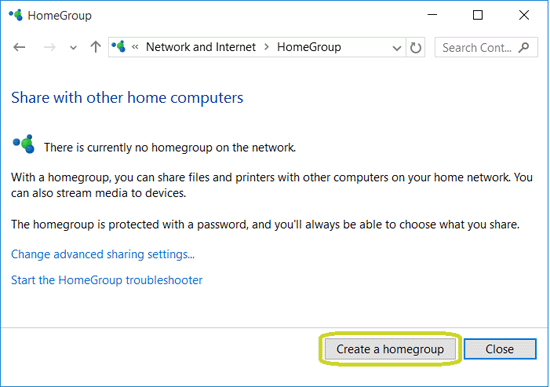
Step 5: If nobody created a homegroup on the home network, you will see the "Create a homegroup" button, tap on it to continue.
Step 6: On the following screen, just tap on "Next" to go on.
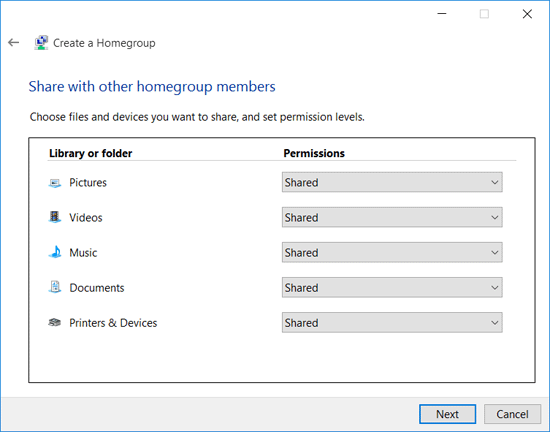
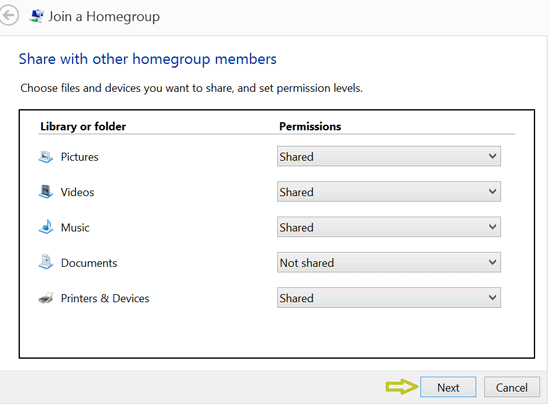
Step 7: Here you can choose the files on the library to share, such as Pictures, Videos, Music, and documents. You also can choose to share printers and devices.
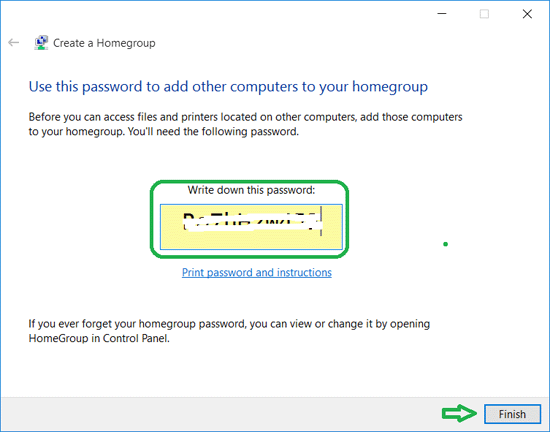
Step 8: When your homegroup has been created, you will see the password here, write the password down and invite the other computers to join the homegroup and share files.
Part 2: How to invite other PC devices to join the homegroup and share files?
After you have created a homegroup on your Surface, open the other computer. And go to the homegroup settings by this way: Control Panel >> Network and internet >> HomeGroup.
Step 1: On the homegroup settings it will tell you that your Surface has created a homegroup on the network. Click on the "Join now" button to join with it.
Step 2: Select the files to share with your Surface, and click on "Next".
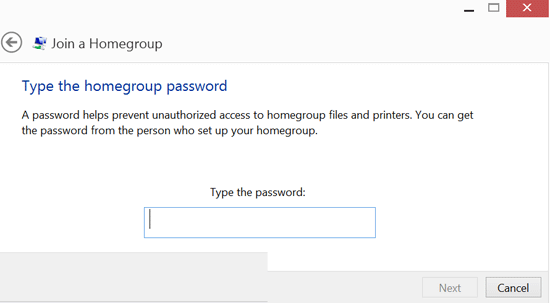
Step 3: On the following steps, you will need to enter the password to access to the homegroup files. You can get the password from your Surface or the other members of homegroup.
If you want to close the homegroup on your surface, go to the homegroup settings, and tap on the link "Leave the homegroup…"