
Easy Ways to Repair Corrupt WAV Audio File Windows 10
WAV files are one of the most popular audio formats, often used for high-quality recordings. However, sometimes these files can get corrupted due to improper shutdowns, file transfer errors, or other technical issues. If you’re dealing with a corrupted WAV file on Windows 10 or 11, don’t worry—there are several methods you can use to repair the file.
- Contents:
- Way 1: Use File Repair Tuner to Repair WAV Files
- Way 2: Fix Corrupt WAV Files with Adobe Audition
- Way 3: Resolve WAV Files Not Playing via Audacity
Way 1: Use File Repair Tuner to Repair WAV Files
Cocosenor File Repair Tuner is a reliable tool designed specifically to repair corrupt audio and video files, including WAV, MP3 or FLAC files. It scans the damaged file and attempts to fix the issues that are preventing it from playing properly. Here’s how you can use it:
Step 1: Download the software on your computer from the official website.
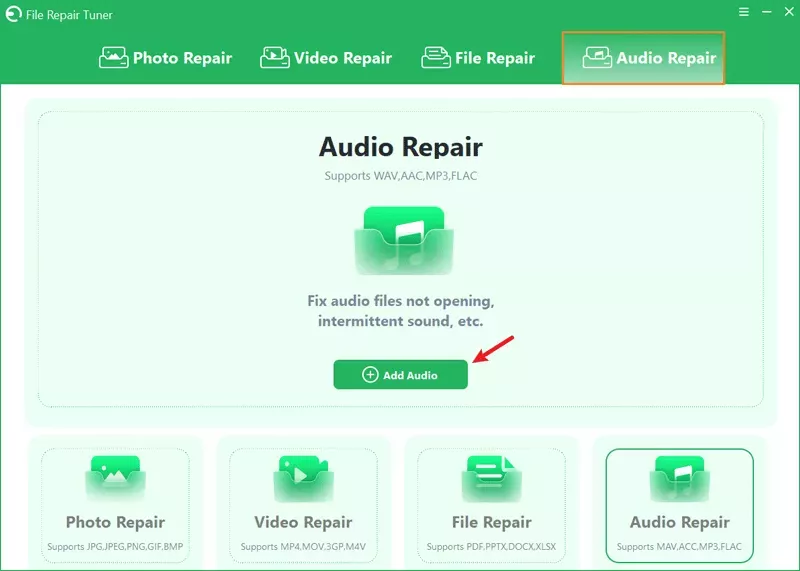
Step 2: Open the program and then choose Audio Repair. After that, click Add Video.
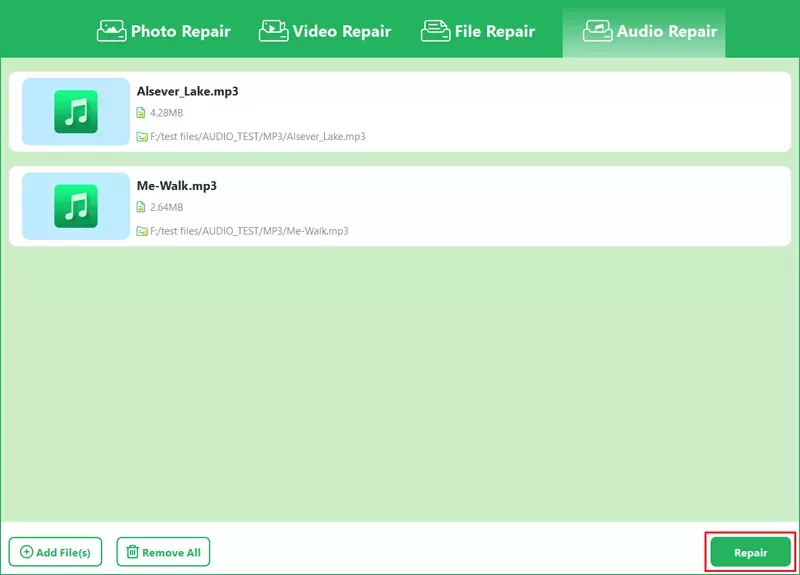
Step 3: After adding the damaged MAV file, tap on the Repair button.
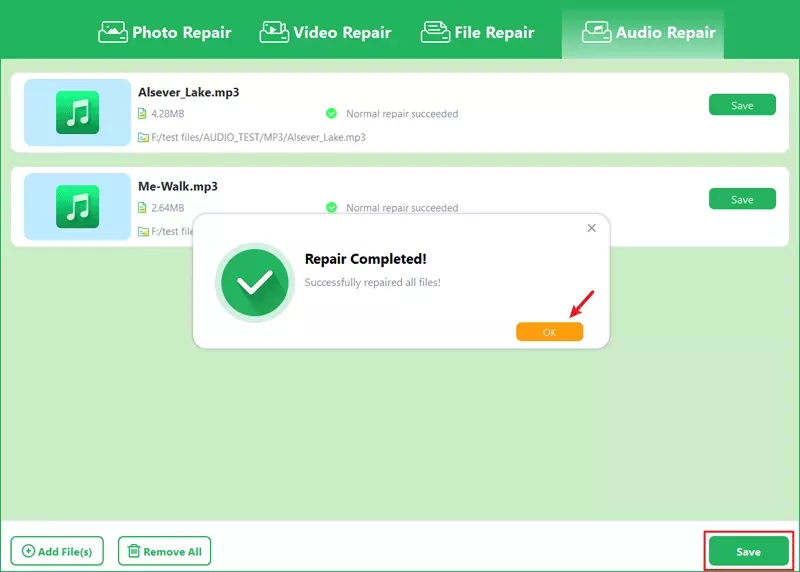
Step 4: When Repair Completed appears, click OK and then Save.
Way 2: Fix Corrupt WAV Files with Adobe Audition
Adobe Audition is a professional audio editing software that can help repair the distorted audio file. While it’s typically used for advanced editing, you can also use it to fix corrupt WAV files by manually correcting errors or trying to extract the audio.
Step 1: Install the latest Adobe Audition. Then open the audio tool.
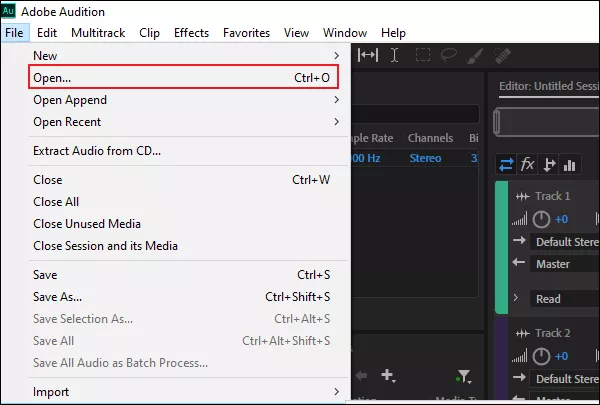
Step 2: Click File > Open. Next, select the file you want to repair.
Step 3: Choose the Effects option. Under the menu, tap on Diagnostics to start the repair process.
Step 4: Check whether the corrupt MAV file can be played as normal. After that, save the file.
Way 3: Resolve WAV Files Not Playing via Audacity
Audacity is a free, open-source audio editing software that can also be used to repair corrupt WAV files. With it, you can attempt to resolve issues with your WAV file by analyzing and re-exporting the audio.
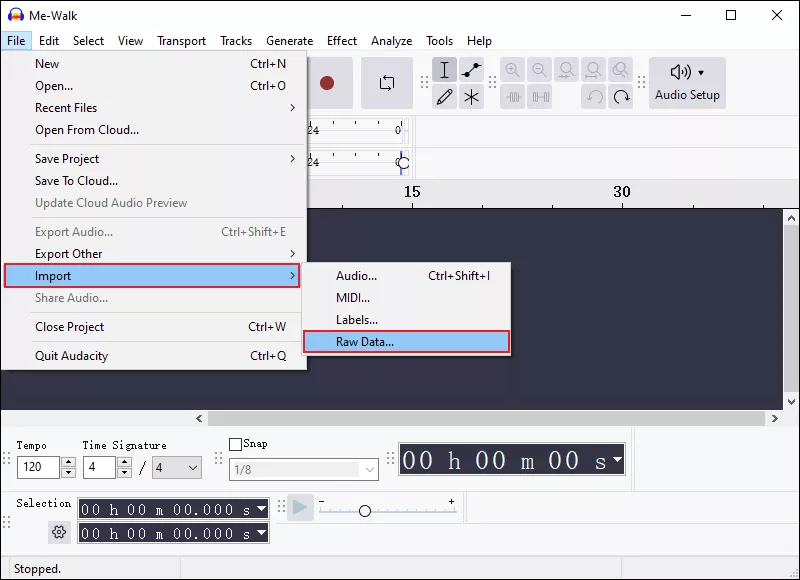
Step 1: Search for Audacity and download it. Go to File > Import > Raw Data. Then confirm to import the music file.
Step 2: Click the View menu. After that, choose Show Clipping.
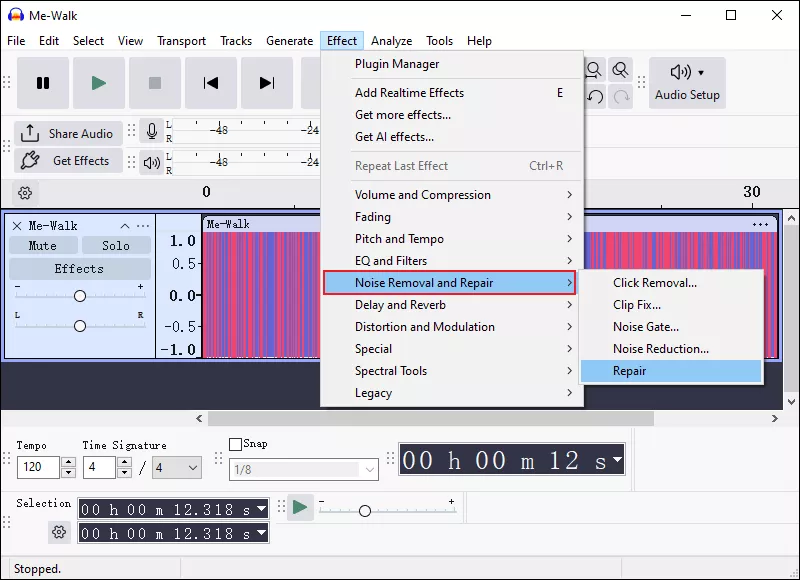
Step 3: Tap on Effect > Click Noise Removal and Repair. Next, hit Repair.
Step 4: After fixing the issue, select File > Export.