How to Reinstall Surface Tablet with USB Flash Drive

When you get a problem on your Surface tablet that just won't start or stop on the blue screen, you may need to get it start with a USB drive and reinstall Windows on it to solve the trouble.
- Guide Steps
- Method 1: How to create a Surface USB recovery drive?
- Method 2: How to reinstall Surface with the USB flash drive
Method 1: How to create a Surface USB recovery drive
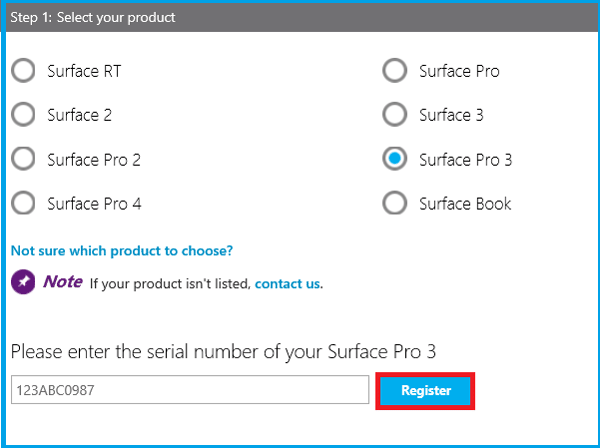
You can create a USB recovery drive with Surface recovery image that downloaded from Microsoft Surface official site.

Step 1: Prepare a USB drive with enough available storage, and format it to FAT32. (For Surface RT, Surface 2, need at least 8 GB. For Surface 3, Surface Pro 1/2/3/4, need at least 16 GB storage. )
Step 2: Download Surface recovery image to a PC that is accessible, not your USB. (This process will take you about 3 hours, make sure you have enough time, and wait patiently.)
Tips: To get your Surface recovery image, you need to sign in with a Microsoft account, or you won't get the recovery image.
Step 3: Copy the recovery image to the USB drive you have prepared, and decompress it. (This process will take half an hour.) Make sure your USB drive has been formatted to FAT32 prior before the recovery image is moved in. For more details about creating a recovery drive, see How to create a bootable USB recovery drive for Surface.
Method 2: How to reinstall Surface with the USB flash drive
Note: Make sure your Surface is charging power during the process of reinstalling.
Step 1: Connect the power supply to your Surface and plug it into an electrical outlet. And turn off your Surface.
Step 2: Insert the USB flash drive into your Surface.
Step 3: Press and hold on the volume-down button, while press and release the power button.
Step 4: When the Surface logo comes up, release the volume-down button. After your Surface boot from the USB flash drive follow the instructions on the screen. If have difficult to boot, see How to boot Surface from a USB flash drive.
Step 5: Select the language and keyboard layout you want on your Surface.
Step 6: Select "Troubleshoot" on the screen.
Step 7: Select "Reset your PC", which will remove all of your files. When get the prompt for a recovery key, select "Skip this drive".
Step 8: Select the target system that you want to reinstall, and tap on "Next" to continue on the following screen.
Step 9: Select "Just remove my files" or "Fully clean the drive" that depends on your need. If you want to sell your Surface, cleaning the drive is more secure for you.
Step 10: Tap on "Reset", and your Surface will restart. Just go on with the instructions on the screen to set your Surface. It seems complex, but as a matter of fact, it is no so difficult for you. Don't hesitate and just take action, have a try to reset your Surface with a USB flash drive and make it to run more smoothly.
Related Articles
- Reset Surface Pro 3 to factory default without login with password
- Create a Bootable USB Recovery Drive for Surface
- How to Factory Reset Surface without Losing Any Data
- How to Get Into Surface Pro UEFI (BIOS) Firmware
- Methods to Boot Surface Pro from USB Drive
- Windows 10 System Restore on Surface Pro 4 – 5 Tips to Choose
- Clean Install Windows 10 on Laptop/Desktop PC with A USB Drive

